-
Integrations
- Articles coming soon
-
Marketing
-
- Advertising white-label eCommerce solution to your customer ecosystem
- Advertising compliance and brand usage guidelines for partners
- How to create high-converting advertisements for your eCommerce platform
- How to run advertising campaigns to attract online merchants and resellers
- How to measure advertising performance and generate qualified merchant leads
-
- How to promote your eCommerce platform using consistent branding
- White-Label eCommerce branding strategy for partners
- Crafting effective brand messaging for eCommerce platforms
- Positioning your eCommerce platform for different merchant segments
- Maintaining brand consistency across marketing channels
-
- Creating High-Impact eCommerce marketing assets for partners
- Designing eCommerce sales decks that convert merchants
- Creating eCommerce landing pages that convert traffic into merchants
- Creating eCommerce case studies that build trust and close deals
- Creating Email campaigns that drive eCommerce adoption
-
-
Partner Hub
-
- Articles coming soon
-
- Articles coming soon
-
-
Sales
-
- Articles coming soon
-
- Articles coming soon
-
- Articles coming soon
-
- Articles coming soon
-
- Articles coming soon
-
-
Technical and Support
-
- Articles coming soon
-
- Articles coming soon
-
- Articles coming soon
-
- Articles coming soon
-
- Articles coming soon
-
- Articles coming soon
-
-
-
-
-
-
-
- Payment methods at eCommerce Store
- Setting up Stripe Payment Gateway
- Setting up Paypal in your Online Store
- Setting up CashFree Gateway
- Setting up RazorPay Gateway
- Setting up Paystack gateway
- Setting up Flutterwave Gateway
- Setting up Mercado Pago Gateway
- Setting up Mamo Pay Gateway
- Setting up Yoco Gateway
- Setting up Nets Easy Gateway
- Setting up Vipps Gateway
- Setting up Mollie Gateway
- Setting up Epoint Gateway
- Setting up Iyzico Gateway
- Setting up Payriff Gateway
- Setting up Crypto Payments through Nicky
- What is Cash on Delivery?
- Show Remaining Articles (3) Collapse Articles
-
- How to create an analytics account?
- Connecting Google Analytics to your eCommerce store
- Connecting Meta Pixel to your eCommerce store
- Connecting Tik Tok Pixel to your eCommerce store
- Connecting Google Tag Manager to your eCommerce store
- Managing product reviews & ratings in your eCommerce store
- Using marketing automation to drive urgency and social proof
- Setting up your LLMs.txt integration to boost your AI search visibility
- Automating manual order fulfilment and live tracking with Shiprocket
- Automating search engine discoverability with dynamic sitemaps
- Automate, optimise, scale: Building your Google shopping product feed
- How to sync your product catalog with meta ads to drive more sales
-
- Articles coming soon
-
- Articles coming soon
-
- Articles coming soon
-
Print
Posted
Updated
ByeCommerce Admin
How to create an Analytics Account?
Creating an analytics account is the first step toward tracking visitors’ behavior, measuring performance, and improving your online store’s conversions. An analytics account allows you to collect essential data—such as page views, traffic sources, sales conversions, and user interactions—using tools like Google Analytics, Meta Pixel, Tik Tok Pixel, or Google Tag manager.
Why you need an Analytics Account
- Understand how customers interact with your store
- Track sales, conversions, and customer behavior
- Measure the performance of marketing campaigns
- Make data-driven decisions to grow your business
- Improve user experience and optimize your store’s design and content
Before you begin
To create any analytics account, you typically need:
- A valid email address (preferably your business email)
- Basic store information (store name, URL, business type)
- Access to your store’s admin panel to install tracking codes
General steps to create an Analytics Account
Below is a simplified, platform-agnostic process that applies to most analytics tools:
- Visit the analytics provider’s Website
Go to the official website of the analytics tool you want to use, such as: Each provider will offer its own signup process. -
Sign in or create an Account
Use your existing login (Google, Facebook, TikTok, etc.).
If you don’t have an account, create one by following the provider’s registration steps. -
Create a new Analytics Property
Once logged in, you will typically be asked to set up your first analytics property.
You’ll be required to provide:- Your business or website name
- Your store URL
- Your preferred time zone and currency
- Business category or industry
-
Generate a Tracking Code or Pixel ID
After creating the property, the system will generate a tracking code, tag, or pixel ID. This is a unique code snippet required to track user activity on your store.
Depending on the provider, this may be:- Measurement ID (Google Analytics)
- Pixel ID (Meta Pixel, TikTok Pixel)
- Container Code (Google Tag Manager)
-
Add the Tracking Code to your Store
Copy the generated tracking code and paste it into your store’s tracking or analytics field inside the admin panel.
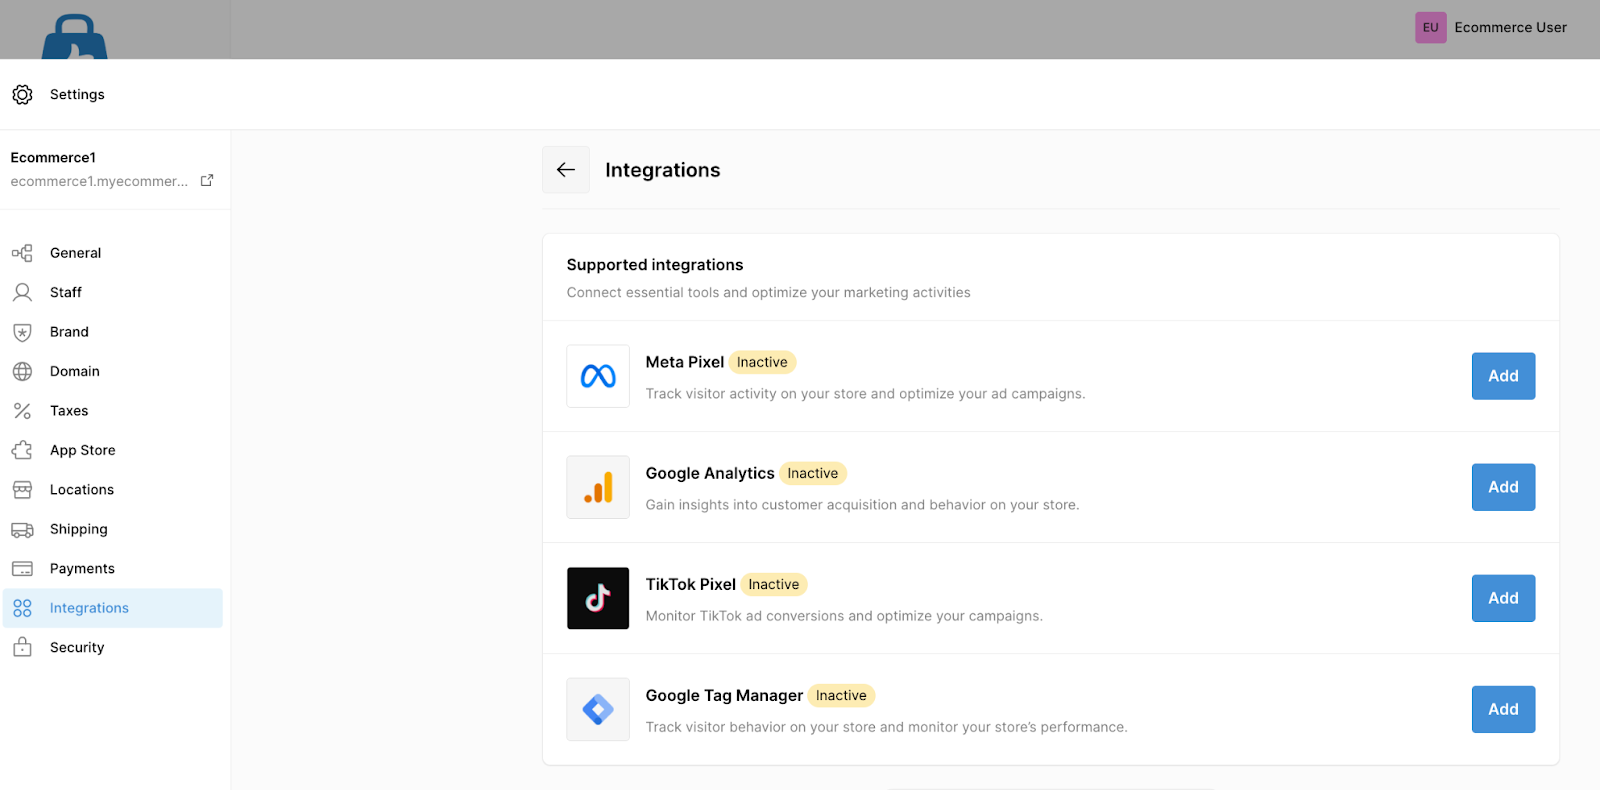
If you are using eCommerce:- Go to Settings → Integrations
- Paste your code or ID in the correct field
- Save changes